Table of Contents Show
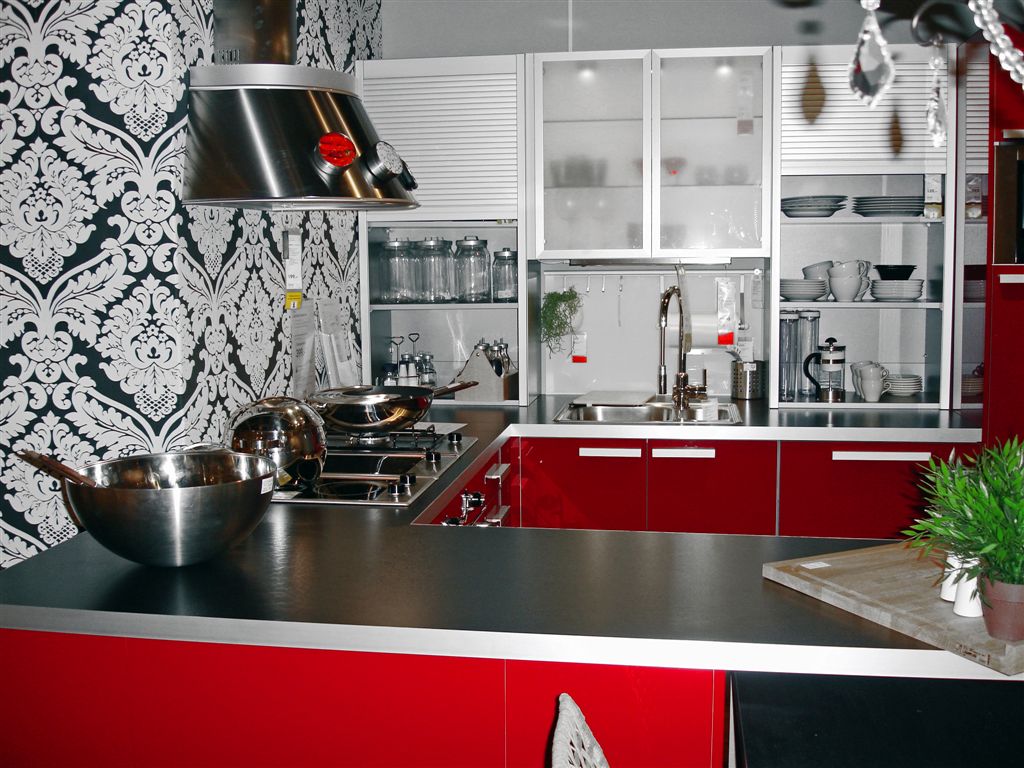
IKEA kitchen cabinets are the best kitchen that is cost-effective and give a charming look. If you are looking for IKEA Kitchen installation tips, stay here and know helpful, easy tips to install the IKEA Kitchen with ease. We will share the top 7 tips that will help you set up an IKEA kitchen.
What Are Seven Helpful Tips for Installing IKEA Kitchen?
Here are seven helpful tips for installing an IKEA kitchen.
1. Make a Plan
Before installing the IKEA kitchen, set a plan; it will help you place each item in its proper place. You may also find some helpful designing software from online stores to get a better setup plan. But whatever you choose for the IKEA Kitchen Installation plan is a must for easy and timely completion of the task.
2. Double-Check the Measurement and Dimensions
Before going to market to buy the setup, double check your plan and also verify the measurements. Take measurement of each item and verify that you have taken the correct measurement; otherwise, it will make your project lousy and slow.
3. Write Name and Group the Items
After you have purchased the items, now the first and most crucial step is that give names to each of its packages before starting the installation.
Because it will make it easier for you to find the package when needed, you can write numbers from 1 to the last number according to your plan.
It will make it easier to find the package to install when needed because they are mentioned with complex numbers that make it hard for you to find the required item.
To make your job easier, you can also distribute all the items into groups such as shelves, doors, cabinets, and whatever you have ordered.
It will make your search easier to find when installing doors; then, all doors related items will be available at the same place.
Read Also:
4. Fix Rail with An Easy Way
When you are fixing the rail, it is necessary to get the right balance; to maintain the balance, you need proper installation of the rail. It will be easier if you are two people while installing the rail at the same time.
Try to position the one end of the marked trail to the other end but with the same level. Try to fix the rail at a dead level for balancing and proper IKEA Kitchen Installation.
5. Cut Rail at The Proper Distance from Cabinet Edge
When installing the IKEA kitchen, you will need to cut the rail flush matching to cabinet edge. It will be better to know the best and precise information about where your cabinet installation will end up.
Because if you do not pay attention here, then after installing 5 or 6 cabinets, you will see that it is not ending at that point where you want to end.
If it is a little bit different, then it is ok but if there is a significant difference then what you will do, you will also face problems in installing the panels.
We recommend you to cut the edges short such as one inch short it will still make it available for you to install the panels without facing any shortage.
6. Fill the Gaps Appropriately for Finishing Off
It is essential that IKEA Kitchen installation tips that you should fill the gaps between the cabinets and between the cut-over panels. It is easy for you to manage to clean edges, but if you do not cut the delicate edge, it is necessary to fill the gaps with a filler to give them a better and clean look.
7. Make Door Adjustments Before Fitting Dampers
When you fit the dampers, before fitting the dampers, make sure your door adjustments are correct. You can softly close and open the doors. It would be helpful if you set the level of the door at the first level.
If you found that after the installation of dampers, the doors are not closing correctly, you will need to remove the dampers to adjust the right door level. So it is better to check before.
Final Thoughts
IKEA kitchen Installation is a challenging task, but if you follow the above simple steps, it will become more accessible and perfect for you to install the IKEA kitchen to make your home charming and beautiful with the IKEA kitchen.

