Table of Contents Show
The year of the deck continued as we took advantage of more summer-like April weather to tackle the dreaded deck stain project. This came just a week after we completed our deck skirt to keep the critters out.
We knew a year ago when we had our pressure treated deck built, that the time would come for sealing and staining it. After all, we saved 2/3rds of the cost of no maintenance “Trex decking” by having it built of wood. After a full year of aging, the wood has cured well enough to receive a stain.
A friend of ours recommended our local “Sherwin-Williams” store for getting our supplies rather than Lowes or Home Depot.
He said that the staff there could provide a lot more expertise about the right approach and products for a deck than the others. All I knew was that I wasn’t interested in sealing and staining the deck in 2 different steps. I wanted a product that would take care of business all at once.
Stain Deck Weekend the Sherwin Williams Way
Read Also:
Ask Sherwin Williams – How to Stain a Deck
I had that commercial in my head as I went in to get a consultation. The professional behind the counter must have spent 35 minutes with me explaining all my options on deck stains. He explained that I actually did not need to clean my deck, unlike most poor saps that are restoring some gray weather-worn disaster.
I wanted to see the wood grain through the stain, so I knew I did not want a solid. The guy suggested an off-the-shelf honey-colored Deckscapes toner (I forget the exact color). There were many colors to choose from, but like regular paint, once a color is mixed you can’t return it.
Then, he told me the best way to apply the stain – a 5-inch wide brush on an extension pole so I wouldn’t break my back. For the spindles and other hard-to-reach places, it was going to be good old-fashioned brushwork and lots of it.
Finally, he was able to estimate the number of cans I would need to complete the deck and our playset – 5 gallons.
I brought the stain home and brushed it onto a test piece. We really didn’t like it. There was barely a discernable difference between the stained wood and that which was not. She convinced me that if we were going to do all of this work that we had better notice the results.
So, I wandered back to the store with a test piece in hand and a picture in my head of a much darker brown hue with a hint of red. I must have hemmed and hawed another 45 minutes about the color. I tested cedar which was way too orange.
Finally, I settled on DeckScapes Exterior Waterborne Semi-Transparent stain in a custom color – Riverwood. Once he mixed it, there was no turning back. I had almost $200 in a stain on the table and no place for it to go but on the deck, like it or not.
Railings are No Fun
We started first with the railings and spindles figuring that we would not want to be walking around on a drying deck surface trying to get at them. The stain had a knack for dripping, but we managed to get a good coat of it on without making too much of a mess.
Floorboards are Easier
Once we got to the floor, life got a little bit easier. My helpers applied stain with their smaller brushes, while I came in after them with the 5″ wide brush we affectionately called “The Beast“.
My helpers wielded the “mini-Beast” (the 2.5″ brush) to help mommy and daddy for the first time with a big project. Anna stayed inside much of the day with her chicken pox.
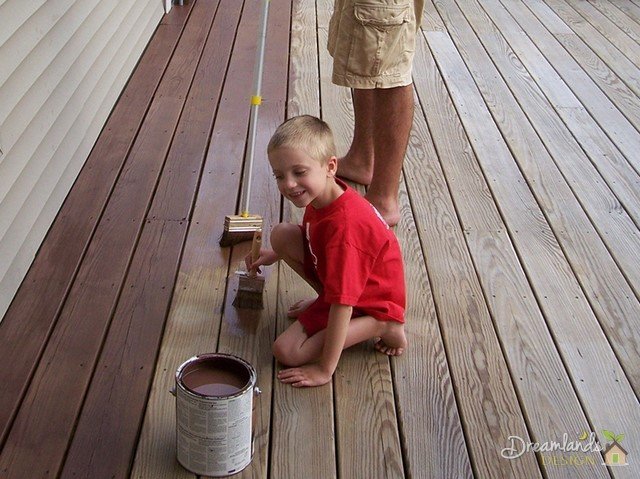
We were putting the last touches on the first coat of stain in the darkness of day one. When we came out in the morning on day 2, we could see where the stain was uneven on the final few floorboards that we stained in the twilight.
I think it had as much to do with having painted ourselves into a corner (and switching techniques) as it did with the darkness.
I made the call to put on a second coat on the floorboards only so that we had a nice even look to things. That only took about 3 extra hours to accomplish. We did not stain the deck skirt. We’ll likely wait until the fall so that the wood has time to cure.
The deck looks awesome now. The stain will definitely give us a couple of good years of protection before we need to do it again.
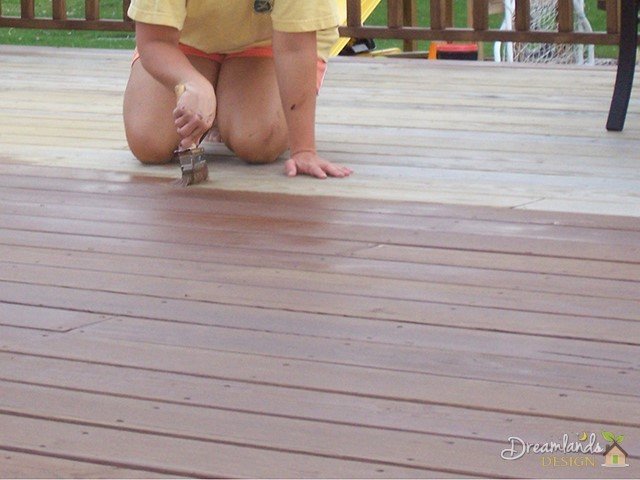
After we completed the deck, we moved right into the playset. Because it was built of pressure treated 2 years ago, the wood was much more thirsty.
This coupled with far more intricate surfaces to cover made the project last the rest of the day. When it was all over, we had a matching deck and playset that should last a lot longer now that they’ve been protected.
Update, A Years Later
I’ve gotten quite a few comments asking how the deck looks after a year. I’m sad to report that it looks TERRIBLE! Here are a few pictures of the stain peeling off of the pressure treated wood.
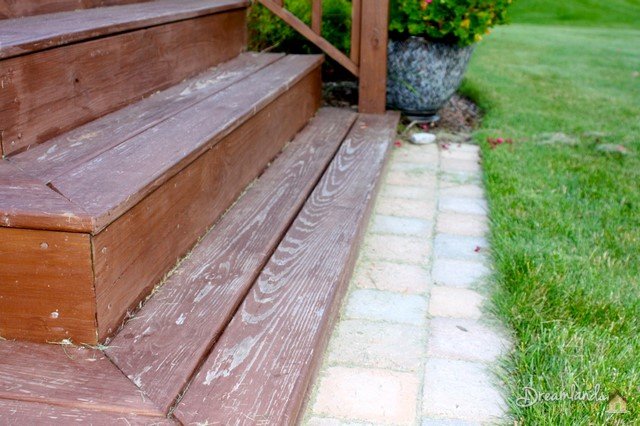
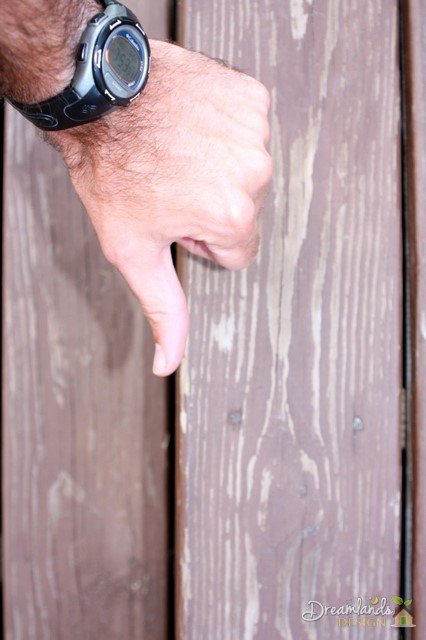

Anywhere on the deck that is exposed to the weather has some degree if flaking or peeling of the stain. The only place where the stain still looks good is under the deck canopy. The playset does not have nearly as bad of a problem. I’m going to guess that I damaged the stain by applying a second coat to the deck.
The guy at the store only offered up this as a no-no AFTER I had come back for another can last year. He said that the first layer may repel the second layer of stain from sticking. I’m not sure. No matter what, I’m faced with figuring out next year how to prepare the surface of my deck for another try. I’m not sure what I’ll do then, but I’ll be sure to post when I do.


