Table of Contents Show
Are you looking to paint the interior of your home, but you don’t know where to start?
Painting prep can seem like a lot of work if you are unfamiliar with the tasks. However, you can’t go without it. The key to a beautiful paint job is the right amount of preparation.
Painting prep is essential for any kind of interior painting project, but how does it work? Keep reading to find out.
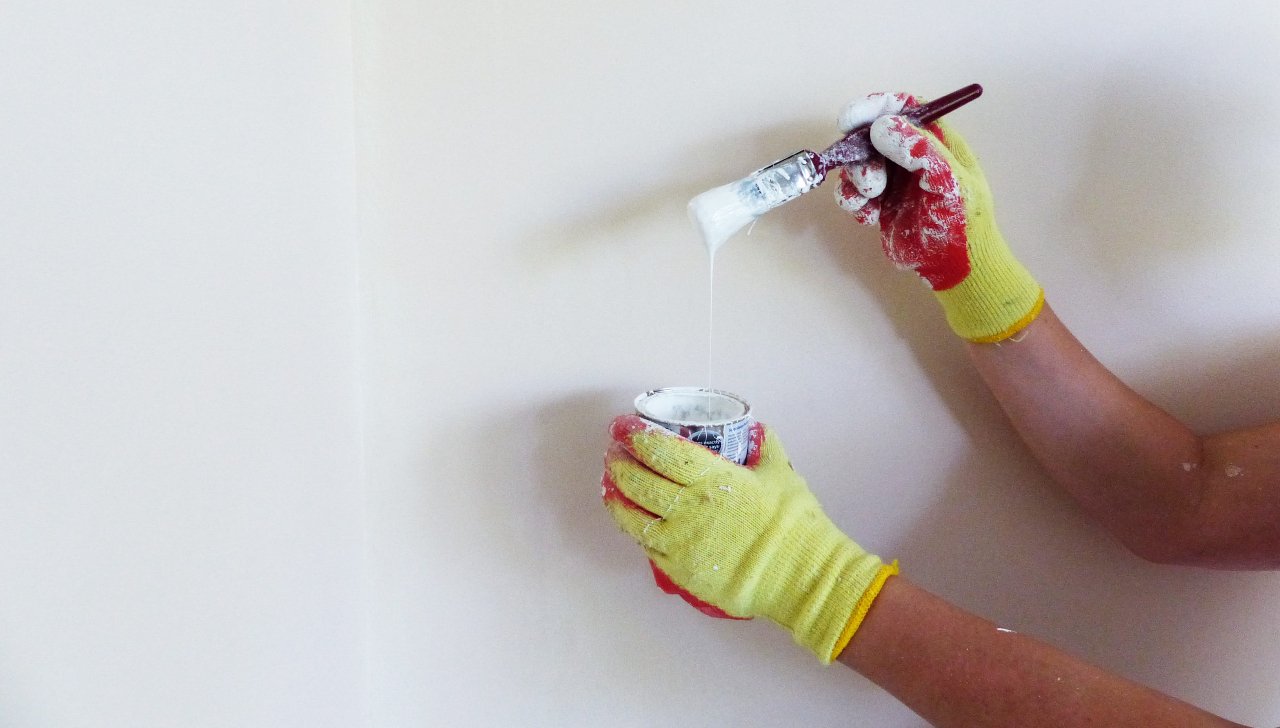
Get The Walls Clean
Painting Preparation begins with clean walls.
In bedrooms and living rooms, there may not be much to clean. Be sure you are giving them a good wipe down and let them dry completely before moving on to the next step.
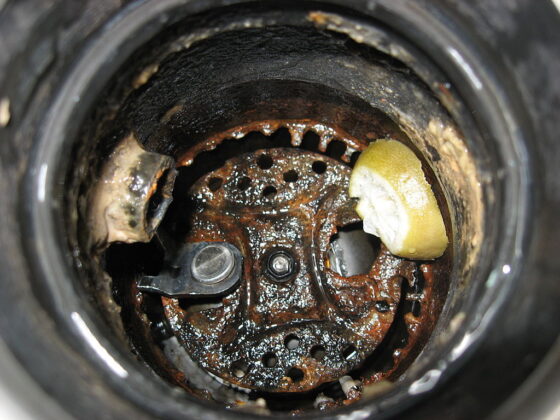
In bathrooms and kitchens, there may be more residue or even mold to clean up. Sticky residues can oftentimes be cleaned up with a solution of water and laundry detergent. Afterward, rinse and dry the walls completely.
Read Also:
Use Painters Tape and Drop Cloths
When you are doing interior painting you do not want to get paint on your carpet, your furniture, or your trim. Furniture protection and floor protection are easy.
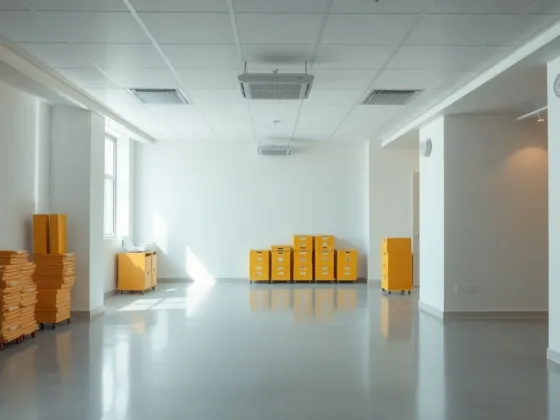
Take out as much furniture from the room as possible. This will allow you to have more room to paint in and keep paint off your furniture. Any furniture you cannot get out of the room should have a cloth spread over it.
As for the floors, you should be covering them entirely with a drop cloth to prevent paint splatters and drips. You can choose from a variety of different drop cloths including canvas or plastic.
Always cover your trim and other non-removable fixtures with painter’s tape. Make sure your lines are straight and your tape is perfectly flat on the wall.
Remove and Repair
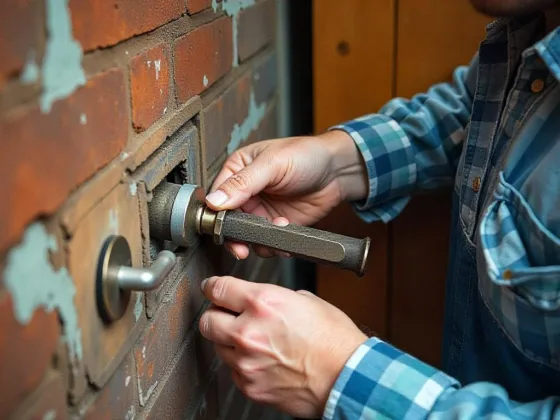
Once your walls are clean and your stuff is protected you must remove as many of your fixtures as possible. This includes light switch covers, outlet covers, vents, and light fixtures.
Next, look for parts of the wall that will need repair. Has the doorknob left a dent in the wall? Did a shelf leave gaping screw holes?
Repair these issues before you move on to the next step of painting prep to ensure your final product looks professional.
Time to Prime
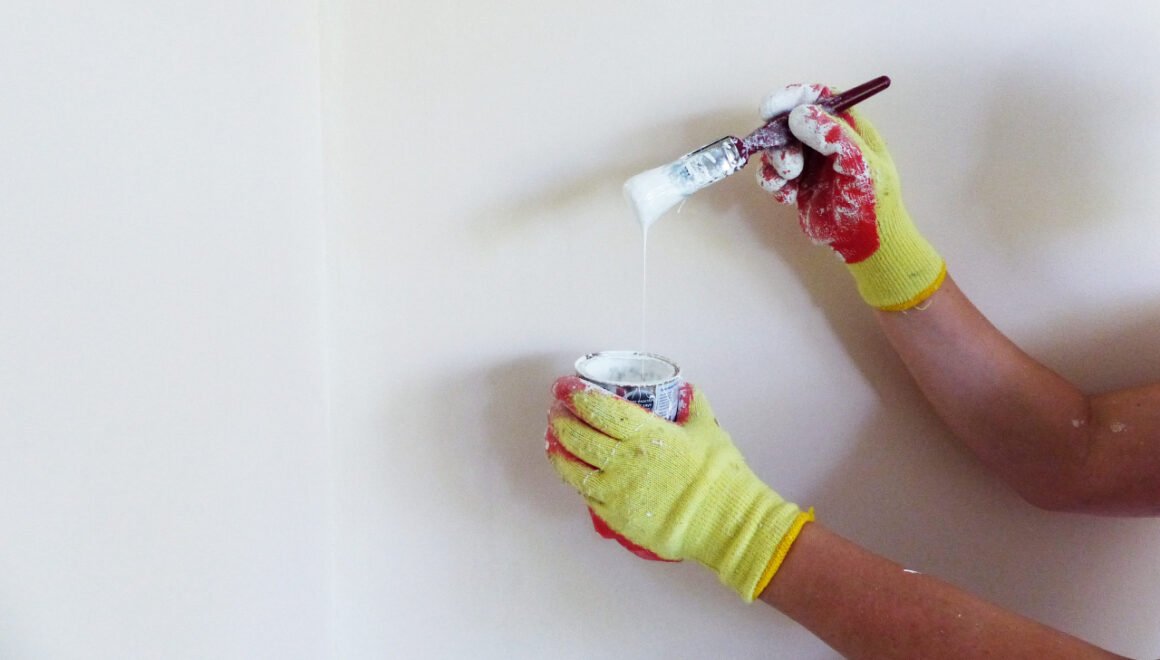
Interior paint prep ends with priming. This is the step that comes just before you paint. Using a primer isn’t always necessary, but it is important to achieve perfectly painted walls.
Priming during painting prep seals the walls and prevents mold from growing. You may use a paint roller to cover large areas with primer and a small paintbrush to reach cracks and edges.
Read the instructions printed on the primer you are using and always allow it to dry completely before you begin painting. At this point, you should have your color selected. If you don’t, you can look here for more.
Emergency Clean-Up
Spills and mistakes are often unavoidable when interior painting. Luckily, they are often very easy to clean up as long as you have the right supplies prepared.
If you are using latex paint, cleaning up can be done with a damp rag. If you are using enamel or oil-based paint, mineral spirits are likely to do the trick.
If you are unsure of what should be used for emergency clean-up, find your instructions on your paint can.
Start Your Painting Prep
Painting prep can be a daunting task if you are unfamiliar with the procedures. If you follow these simple steps, you will be on your way to a professional-looking interior paint job in no time.
If you found this article informative check out the rest of our page for more like it!
