Table of Contents Show
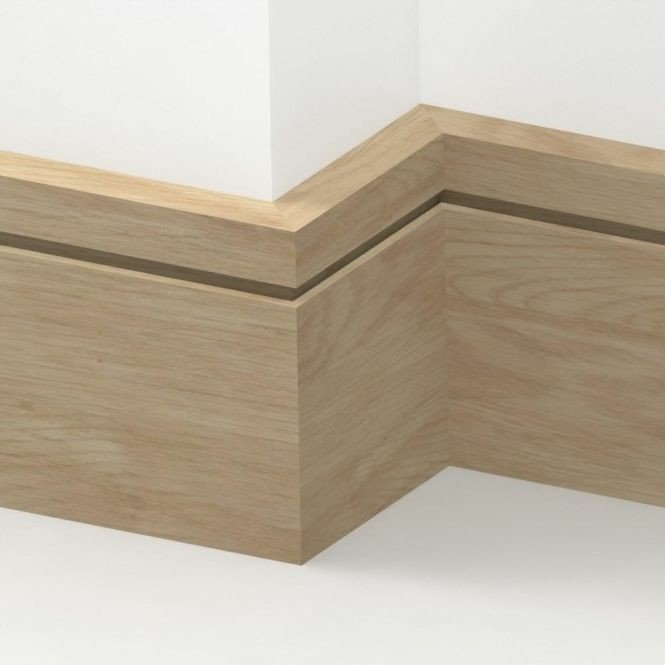
Skirting boards give a distinct finish to a home and they come in different materials and designs.
This guide gives you the step-by-step procedures to fitting a skirting board even if you’re a novice.
The first step is always to purchase a durable skirting board. You can find some quality boards at profilpas.com, the Italian skirting board manufacturer.
Types of Equipment Required
Tools
- Panel saw
- Mitre box
- Hammer
- Coping saw
- Stud finder
- Workhorse
- Nail gun
- Pencil
- Tape measure
- Glue
- Nails and screws
- Sandpaper (100 grit and 60 grit)
Safety Gadgets
- Earmuffs
- Safety glasses
- Knee pads
- Gloves
How to Cut a Skirting Board?
There are 2 cutting types: internal and external.
Saved from loveskirting.co.uk
The internal cut is used at the inner edges of the wall while the external cut covers the outer edges. With the right skills, you can achieve clean and seamless joints
Read Also:
External Cuts
To make an external cut, follow these steps.
Step 1: Measure Wall Length with Earmuffstape.
You can either measure out the wall and map that measurement on the skirting board or place the board on the wall to fit and mark out the edge with a pencil.
You’ll need 2 marks for external edges. One perpendicular line points out the edge and is inclined at an external angle to the perpendicular one.
Step 2: Attach Mitre Box and Saw the Board Through
Fix the mitre box on a firm surface such as a sheet of timber using screws. Position the marks on the board to align with the angle provided on the mitre. Make sure that the board is right-side up and faces you.
Use the panel saw to saw the board through. Use long and slow swings as against short and fast swings.
Step 3: Trim the Surfaces
Use 100-grit sandpaper to work on the cut area. The goal is to remove excessive bumps not to create a fine and smooth surface.
If both surfaces of the boards don’t fit in well, plane off the longer ones until they align.
Internal Cuts
An internal cut requires that you scribe the skirting boards. Follow these steps.
Step 1: Fit and Trace
Place one board on the wall to touch the adjacent wall. Place the other board on the adjacent wall to fit on top of the first board. The board touching the adjacent wall is the bottom board while the one on top is the top board.
Once fitted, trace the edge of the top board on the bottom board. Ensure to follow any curve or groove that the board might have.
Step 2: Saw the Bottom Board
Saw the bottom board along the traced line from the base upwards using a plane saw. If using a primed board that is already angulated, cut at 45°. When you get to the groves, use a coping saw to allow you to bend through the curves.
Step 3: Trim the Surfaces
Use 60-grit sandpaper to run over the cut surface to remove any bumps on it. Fit it to make sure it fits properly and make adjustments where necessary.
How to Install a Skirting Board?
- Install a leveling board in case there is a cavity in the wall.
- Use a stud finder to locate wooden frames behind the drywall.
- Apply glue in blobs at intervals on the inner surface of the skirting board.
- Apply PVA glue at the mitre surfaces (for external cuts).
- Push the boards against the wall to align. Make sure the mitred and scribed surfaces fit.
- Secure fitting using a nail gun.


