Table of Contents Show
Your air conditioning (AC) unit is one of the most important pieces of equipment in your home for your comfort.

It is responsible for cooling the air in your home and making sure you are comfortable during the hot summer months. So, it’s imperative to keep its various parts in working order.
The AC condenser unit is the part of the AC unit that actually cools the air. It is a metal box with tubes and fins that helps the refrigerant turn from a liquid to a gas, which in turn helps cool the air.
Therefore, it’s important to keep it clean and well-maintained to ensure optimal performance. Today, we’ll explain how to clean and maintain your AC condenser properly.
Start by Shutting off the Power and Gathering your Tools
To clean your AC condenser, start by shutting off the AC unit because you don’t want it to turn on while you’re cleaning.
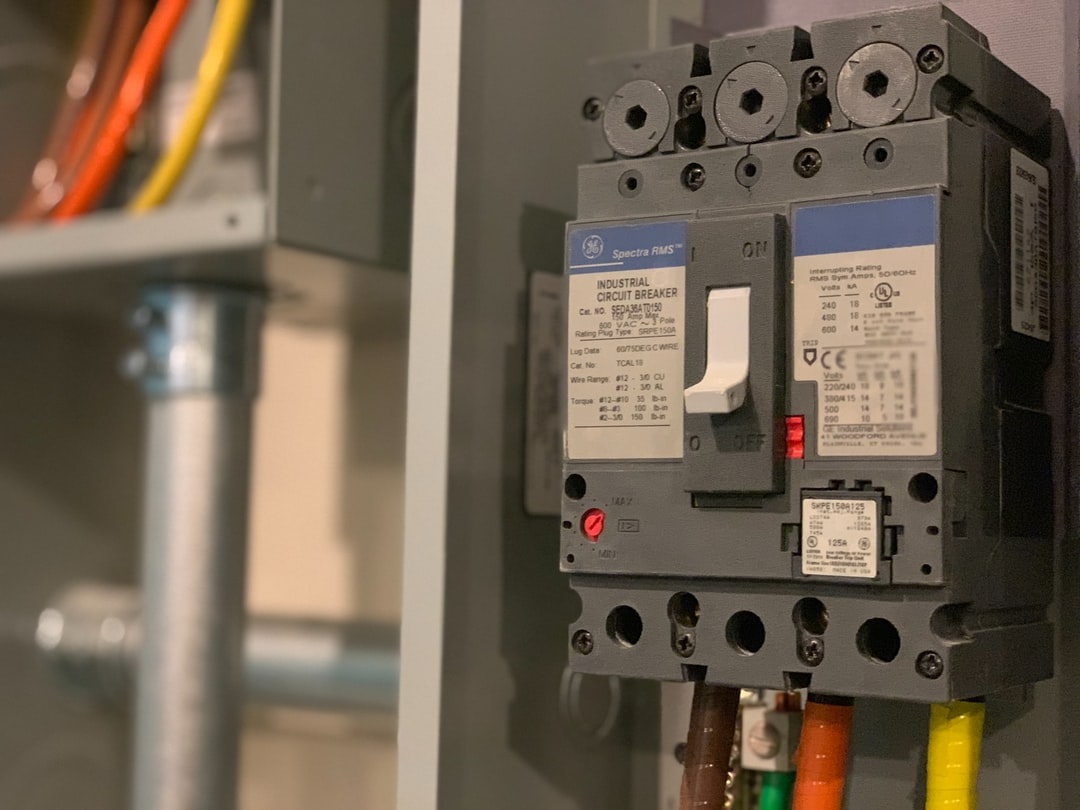
To disconnect the service at the AC condenser, you can pull the plug connector in the power box or flip the AC breaker switch off in your main breaker panel.
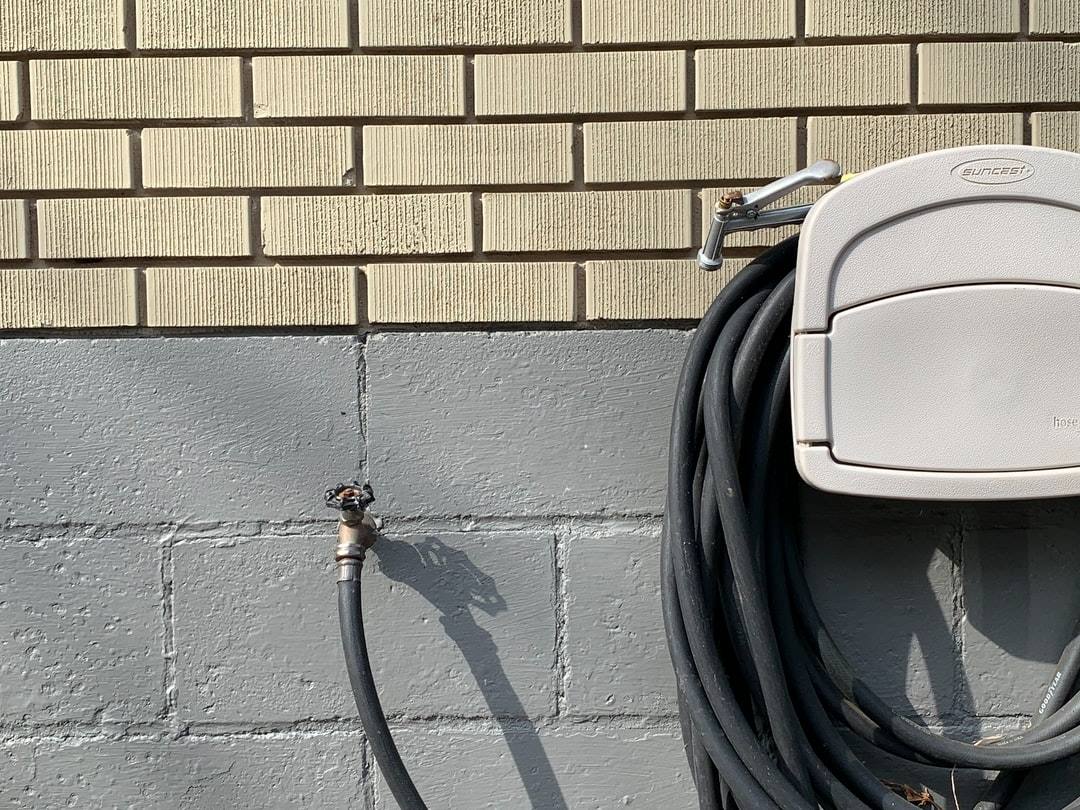
Next, you’ll need to gather your tools. You’ll need a garden hose and spray nozzle, a screwdriver with a socket, and a soft-bristle brush.
Take Off the Panels on the AC Unit
Removing the panels from the backside of the air conditioning unit can be a little tricky, as they are likely secured in place with screws or clips.
Start by removing any screws or clips that hold the panels in place, then carefully remove the panels one at a time.
Be careful not to damage the condenser fins while doing so. As you remove the panels, remember to keep them in order, so you know how to put them back.
Once the panels are removed, you will see the condenser fins. These are the metal fins that surround the condenser coil.
They’re important because they help dissipate the heat created by the condenser coil. If they’re damaged, the air conditioner will not be able to dissipate the heat effectively, leading to increased utility bills and poor performance.
Read Also:
Brush and Spray Off the Condenser Unit
Now that the panels have been removed, you can start cleaning the AC condenser with the soft-bristle brush followed up with a garden hose. This will help remove any dirt or debris that may have accumulated on the surface. Be sure to clean both the front and back of the condenser.
When you’re using the brush, remember to brush from top to bottom to ensure that the fins are free of debris and dust. By brushing from top to bottom, you’ll avoid pushing any dirt or dust into the fins and clogging them up. Additionally, you should never brush the fins side to side, as this can damage them.
When cleaning with the garden hose, remember to spray from the top and not directly on the fins as this can damage them as well. Instead, aim the water stream at the top and sides of the unit to loosen any dirt or debris, then let the water run off the fins.
Be sure to keep the hose moving so that the entire condenser is sprayed, and don’t stay in one spot for too long. Once the unit is clean, give it time to dry completely before moving to the next step.
Re-install the Air Conditioner’s Panels and Cut the Power Back on
Now that the condenser unit is clean and dry, you can re-install the air conditioner panels in the reverse order you removed them. Leave the screws loose until all the panels are in place.
Once they’re in place, tighten all the screws and turn the power back on to the unit. Now, your air conditioner should be back up and running with a clean condenser, making your cooling system more effective and your home more energy-efficient.
Always Remember to Maintain your Air Conditioning System
Now that you’re AC system is back up and running, it’s important to remember that regular maintenance is crucial to your cooling system’s efficiency and lifespan.
If you’re uncomfortable handling this maintenance yourself, call a licensed HVAC technician to inspect your system once a year.


