Table of Contents Show
With a few tools and some practice, you’ll be able to quickly remove fixtures from your own home.
It is recommended to switch off the electricity before operating on a light fixture.
Before you commence your tasks, ensure that you terminate the bowl, disassemble the light bulbs, and remove the fixture plate to expose wires.
Then get to work on the new fixture. Since live wires are dangerous, always test any cables with a voltage detector first, and consult an electrician if you are unsure at any point.
Switch Off the Power to the Old Fixtures
The first steps are to switch off the power source to the fixture you are changing out.
This means that you should know where the electrical panel is and flipping the right switch.
After doing this, leave the light you are changing, and you will know you got the right switch when it shuts off.
Be Sure to Remove the Canopy to Expose the Wires and Fixture Hardware
The canopy is the round, broad covering that lies flush to the ceiling, and it hides the hardware and wiring.
There is often some screw that holds the canopy in place; all you need is to undo all the mechanisms and allow the canopy to drop down.
Read Also:
- DIY track lighting installation, A Track Lighting Installation Puts Light Where You Want It
- Lighting on a Budget: How to Illuminate Your Home With LED
- What Are The Advantages of Seeking Simple Lighting?
- How to Check the Quality of Your Lighting Fixtures
- Top Tips for Replacing Your Ceiling Light Fixtures
Be Sure to Unscrew the Three Wires; The White, Black, and Copper Wire
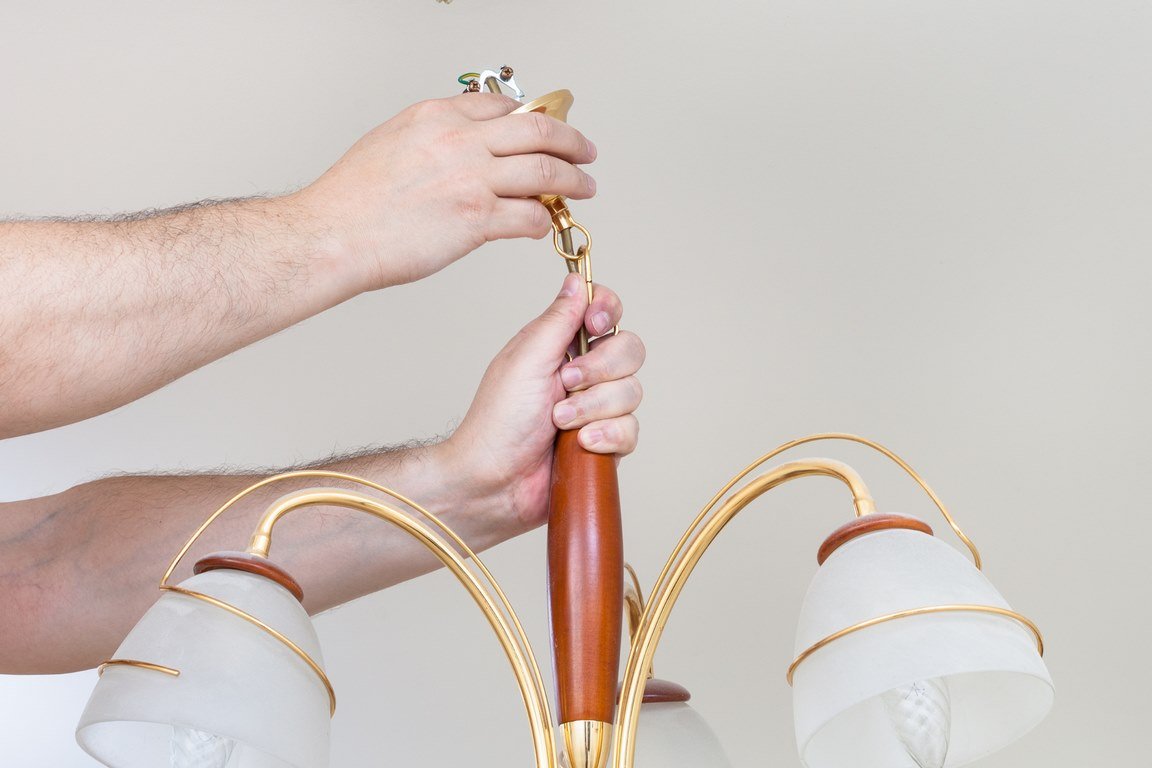
When installing a fixture in a nutshell, you are connecting these three wires from the light fixture, the three wires in the ceiling, and then mounting the fixture’s hardware.
You should be able to see the three wires after you get the canopy off. You need to disconnect these wires to remove the old fixture.
Ensure that you unscrew connectors and separate the fixture cabling from the ceiling wiring.
Remove Bulbs from the Flush-Mount Fixture Plate
Twist each bulb against the clockwise to unscrew it. Set the bulbs on one side so that you can use them for your new light.
There are no lamps on the fixture plate in the Hollywood lights and chandeliers since these are on the light cover and have now been replaced.
Remove the Mounting Bracket from the Mounting Bracket
Using a screwdriver to remove the screws on the attachment plate that hold the mounting bracket.
Hold the mounting plate when loosening the screws in the mounting bracket to avoid falling down from the ceiling.
Since the lighting device is now completely removed, hold power off until a new device is installed securely.
The mounting bracket is a long, thin piece of metal extending over the mounting plate to the ceiling.
When the fixture plate is removed, you’ll see several exposed wires. Don’t touch these until you’ve first tried a voltage detector.

