Table of Contents Show
Did you know that 77% of American households spend time gardening and ensuring their garden looks good?
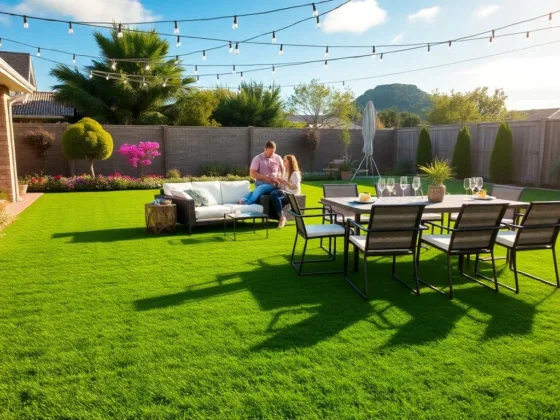
If you love gardening or spending time outdoors then there are a number of ways you can improve your garden and enjoy it more. For example, you might choose to have a sitting area that catches the sun’s rays such as a gazebo.

Enjoying your garden is a great way to unwind. Keep reading to find out how to build a gazebo, so you can relax and reap the rewards of your blooming garden.
Read Also:
How to Build Your Own Gazebo
Building a gazebo may sound tricky, but the reality is that it isn’t. So if you want to enjoy your garden by spending less money and more time in it, then follow this guide on traditional DIY gazebos.
Step 1: Build the Posts
The first thing you need to do is to get four large posts. These are for the corners, the size of them can be entirely up to you, however, it often works best with 12′ long 4×4 beams. Dig holes where you want the posts to go and make sure they are evenly spaced. Then anchor them in with cement, and dirt (but only once the cement has set).
Step 2: Mount Bracing Beams
Then you need to get 6 more 4×4 beams and brace three of the sides (leaving the fourth side open). Place the two beams perpendicular to the upright posts, then secure them with two bolts.
If you’re adding windows, then make sure you know the size of the windows before working out the distance between the beams. If you’re adding windows, then measure their height and add 1.5″ and use this as the distance between the bracing beams.
(For windows, you need to fit them at the center of the three walls and create a frame for them using 1x4s. Then nail them frame into position, fit the window, and nail the windows in place.)
Step 3: Cut and Attach the Upper Beams
Join the posts at the top by cutting four more beams. The best way to do this is by fitting them together, so cut into the beams allowing them to connect. Then glue these together and stabilize it further with some bolts.
Step 4: Build the Roof
Using 5 more 4×4″ beams, you then need to create the roof. Four of them should be the same length (6′ 1″) and the fifth should be longer (8′ 7″). Cut a 45-degree angle into one end of the 4 beams.
Then bolt the flat side of the four beams to the end of the longer beam (making two triangles that connect with the longer beam in the middle). Put your roof on the top of your structure by bolting it into the corner posts.
Step 5: Cover the Roof and Add Walls
The final part of your DIY gazebo is to cover the roof, this can be done using aluminum or fiberglass roofing that is fit to size and secured with nails.
After that, you can then add the walls to your gazebo. You can either use wood or metal for the walls – whatever is most in-keeping with your garden. Then you can decorate it by painting the gazebo or adding furniture.
To purchase your gazebo materials and accessories, or if you would rather save time on making your gazebo, then you can shop here.
Follow Our Guide on How to Build a Gazebo
Transforming your garden can take a lot of time, though, and money, so if you want to minimize the cost and maximize your outdoor space, then follow our guide on how to build a gazebo.
If you found this article insightful, then make sure you check out our other home improvement, design ideas, and gardening articles.


