Installing a new kitchen backsplash can totally revamp the look and feel of your kitchen. It’s an easy installation process that requires minimal tools, and it will completely transform your space.
Although some materials and areas are easier to use and apply a backsplash to than others, it’s still a relatively simple process that you’re welcome to do yourself or hire a professional to help you with.
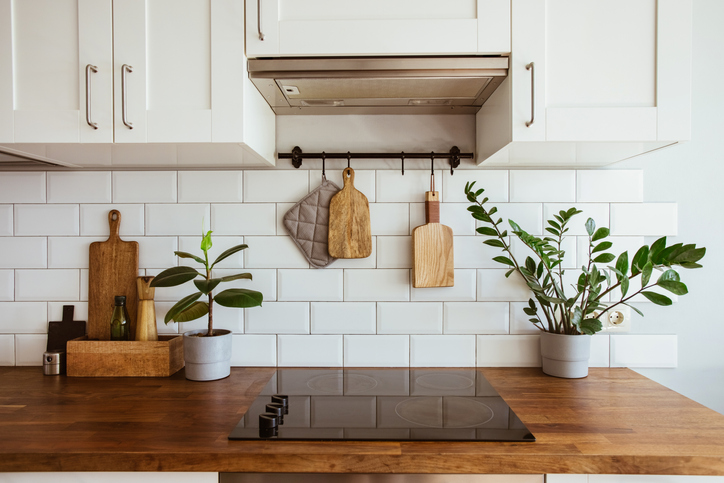
No matter how you decide to install your fresh tile backsplash, there’s still the matter of choosing the right pattern, tile style, and layout. Whether you’re looking for something sleek and modern or rustic and classic, there’s a backsplash out there for you.
If you’re still not sure how you want to go about selecting and installing your kitchen backsplash, don’t worry – we’re here to help! Let’s review the basics of how to install a kitchen backsplash.
Finding the Right Design & Advice
The first step is to measure your area and choose a tile size that works best for the space. Keep in mind that larger tiles are easier to install but may require more cutting if you’re working with an odd-shaped space.
It’s also important to consider the type of tile you’d like. There are glass, ceramic, stone, and metal options available, each with its own unique look and design possibilities.
The best way to find the right tile for your backsplash is to visit your local tile supplier. There, they can help you with measurements and find options that work best for the area you plan to decorate.
Tile suppliers can also inform you of the right style and design for your esthetic, and can offer you advice on locating the right tools and technique for the job.
Another element of installing a kitchen backsplash that a tile supplier and flooring expert can help you with is finding a professional tiler if that’s the route you choose. Rather than doing the legwork of finding the right fit, a tile supplier likely has dependable references for your consideration.
Read Also:
The Basics of Backsplash
Once you’ve selected your tile material and size, it’s time to get started on the actual installation. Begin by laying down the substrate—a waterproof membrane placed against the wall—and then attach the backer board with thin-set mortar or other adhesive product recommended by the manufacturer.
You can then begin applying thin-set mortar or adhesive directly onto the wall in small sections using a notched trowel as a guide; this will help ensure even coverage when installing each tile piece. Finally, lay down each piece of tile one by one until complete, leaving gaps between each piece for grout lines (spaces between tiles).
After all of your pieces are in place, apply grout using a rubber float or grout sponge to fill in all gaps between tiles; let this dry completely before continuing on with anything else.
Once everything is dry, you can apply any sealant or finish coatings necessary for complete protection against water damage—this is especially important if you have installed natural stone tiles!
If at any time you run into concerns or questions, we recommend contacting your local tile supplier or flooring expert. They can help walk you through the process or answer any simple queries you may have. And finally, enjoy your brand-new kitchen backsplash!
Final Thoughts
Installing a new kitchen backsplash is an easy yet transformative project that anyone can do with just a few simple tools and materials available at any hardware store and tile supplier shop. Whether you’re taking on this job by yourself or enlisting the help of a professional, a backsplash is a simple and easy project that won’t take long at all.
If you’ve been considering installing a kitchen backsplash as part of a facelift for your home, we hope that this article has helped you understand what it takes to get the job done.
The steps outlined above should help guide you through from start to finish so you can have beautiful new tilework adorning your walls in no time! Don’t be afraid to experiment with colors, textures, sizes – whatever appeals most to you – as this can really make your kitchen come alive with style and personality! Have fun transforming your cooking space into something truly special.
