Table of Contents Show
Homeowners often assume installing a new A/C unit in the home involves replacing the old unit with a new one and wonder why the process takes so long.
Many steps go into installing this unit, several of which the homeowner doesn’t see. However, some contractors skip certain steps to save time and make a bigger profit.
The choice of contractor remains key to a successful project. Why should a homeowner install a new A/C unit, and what should they know about this process so they can ensure the work is done right?
Why Install a New A/C Unit?
Many homeowners wait until their current HVAC system fails before they look into installing a new unit. However, homeowners need to consider the benefits of upgrading their system even if it works properly.
For instance, modern systems use less energy than their older siblings, and newer systems use R-410A refrigerant, which doesn’t harm the ozone layer as its predecessors did. What should the homeowner know when they choose to have this new system installed?
Read Also:
Arrival at the Home
Installation of a new HVAC unit requires more than one person. When the team arrives, look for company uniforms. This allows you to feel comfortable letting them into the home.
They should provide information about the work that will be done and the paperwork that comes with the new unit. Ask questions about the process to ensure there is no confusion. Communication is crucial throughout the process.
The Location of the Unit
When installing your new A/C, the contractor must determine the proper location for the unit. Newer models take up more space than older versions, as they contain a larger coil that increases their efficiency.
They may not fit in the space the prior unit occupied. That is only one reason the unit may need to be relocated, and the contractor must determine this before moving forward with the job.
Removal of the Old Unit
Before removing the old unit, the team must remove the refrigerant using methods approved by the EPA. The next step involves turning off the circuit breaker for the system.
The team then disconnects the wiring from the old system and replaces any worn components to ensure system safety once the new unit is in place.
Prepping the Site
The HVAC techs remove the pad the old unit sat on and level the ground before putting a new pad in place.
Many contractors use a composite pad today. This pad absorbs vibrations from the unit to keep sound and movements to a minimum.
Removal of the Indoor Components
Once the outdoor unit is in place, the team disconnects the interior unit. They remove the indoor evaporator coil and existing refrigerant lines. The team handles the disposal of these parts on behalf of the homeowner.
Installation of the New Unit Components
The team then installs the new evaporator coil and refrigerant lines. Homeowners should learn whether they will have a cased evaporator coil or an uncased one, as this affects the installation time.
The HVAC techs then install new refrigerant lines. Upon completion of this process, they set up the new air conditioner condenser and install the filter driers. The process continues with the installation of the new wiring and the condensate drain line.
Each part of this process takes time, and the technicians must use the proper tools for each step. Many homeowners lack these tools and the knowledge to do this task correctly.
They could put their home at risk if they miss one or more steps or carry them out incorrectly. For this reason, A/C installation jobs should always be left to the pros.
Commissioning the New Unit
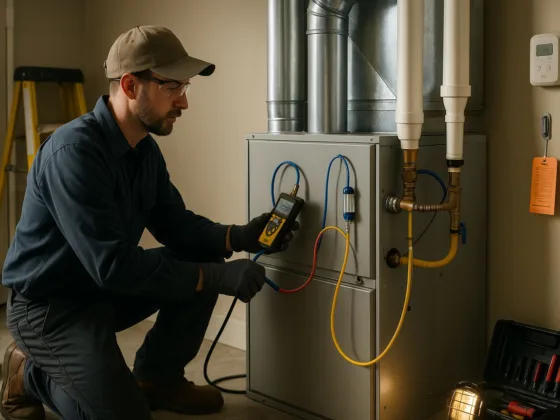
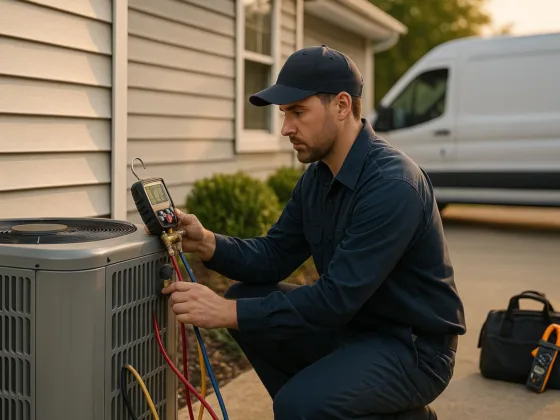
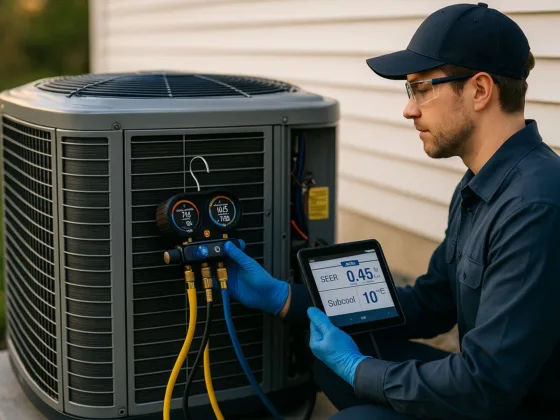
Once the system is in place and ready to run, the commissioning process begins. The technicians turn the system on and allow it to run for 20 minutes so the refrigerant can move through the system and begin cooling the home. The team then checks the system to ensure everything is working properly and meets all manufacturer specifications.
Many companies turn the system on, ensure it blows cold air, and walk away. They don’t want to spend the time to ensure proper operation, and the homeowner is the one who suffers.
Ensure they complete the commissioning process for your own protection. A failure to do so could lead to the warranty being voided.
The Final Steps
A reputable HVAC contractor will clean up all materials used during the installation process and remove any trash. In addition, they will dispose of the old equipment rather than leave this task to the homeowner.
Never allow the contractor to leave until the home is in the same condition it was when they arrived to start the installation process. The contractor should walk through the home with the owner to ensure this is the case.
Before leaving the home, an HVAC technician should explain how to operate the system and go over regular maintenance to ensure the system works properly.
Warranty information should be provided at this time, along with any special instructions. In addition, the technician should provide the owner with information on how to reach the company if a problem arises.
Owners should never sign any paperwork or pay the contractor until this inspection is complete and information on the warranty and operation is provided.
While this process may seem complicated, a skilled installation team will handle it in the shortest time possible. They handle this job regularly and know how to do the work properly.
Never allow a contractor to cut corners when it comes to your HVAC installation. The system is an investment in the home. Keep this in mind and hold the contractor accountable for the work they do.
Proper installation of the HVAC system allows the occupants of the home to be comfortable at all times. Furthermore, it helps to keep repair costs down, as shoddy installation practices could lead to parts malfunctioning sooner than they should.
Choose a reputable contractor to ensure the job is done right. When you do, you’ll have peace of mind knowing your home is protected and will keep you cool all summer long.


