We’ve all walked into a stunning building, whether it is someone’s house, a restaurant, or a newly finished workspace.
You immediately notice how every detail ties together in a way that makes the place look complete and balanced.
That’s because beautiful spaces come alive in the small details. We must give credit to all of the little things that most people don’t notice. When they’re gone, a room feels incomplete.
That’s why we’ve put together a few different projects that will help you create those small details that will take your space from stylish to stunning.
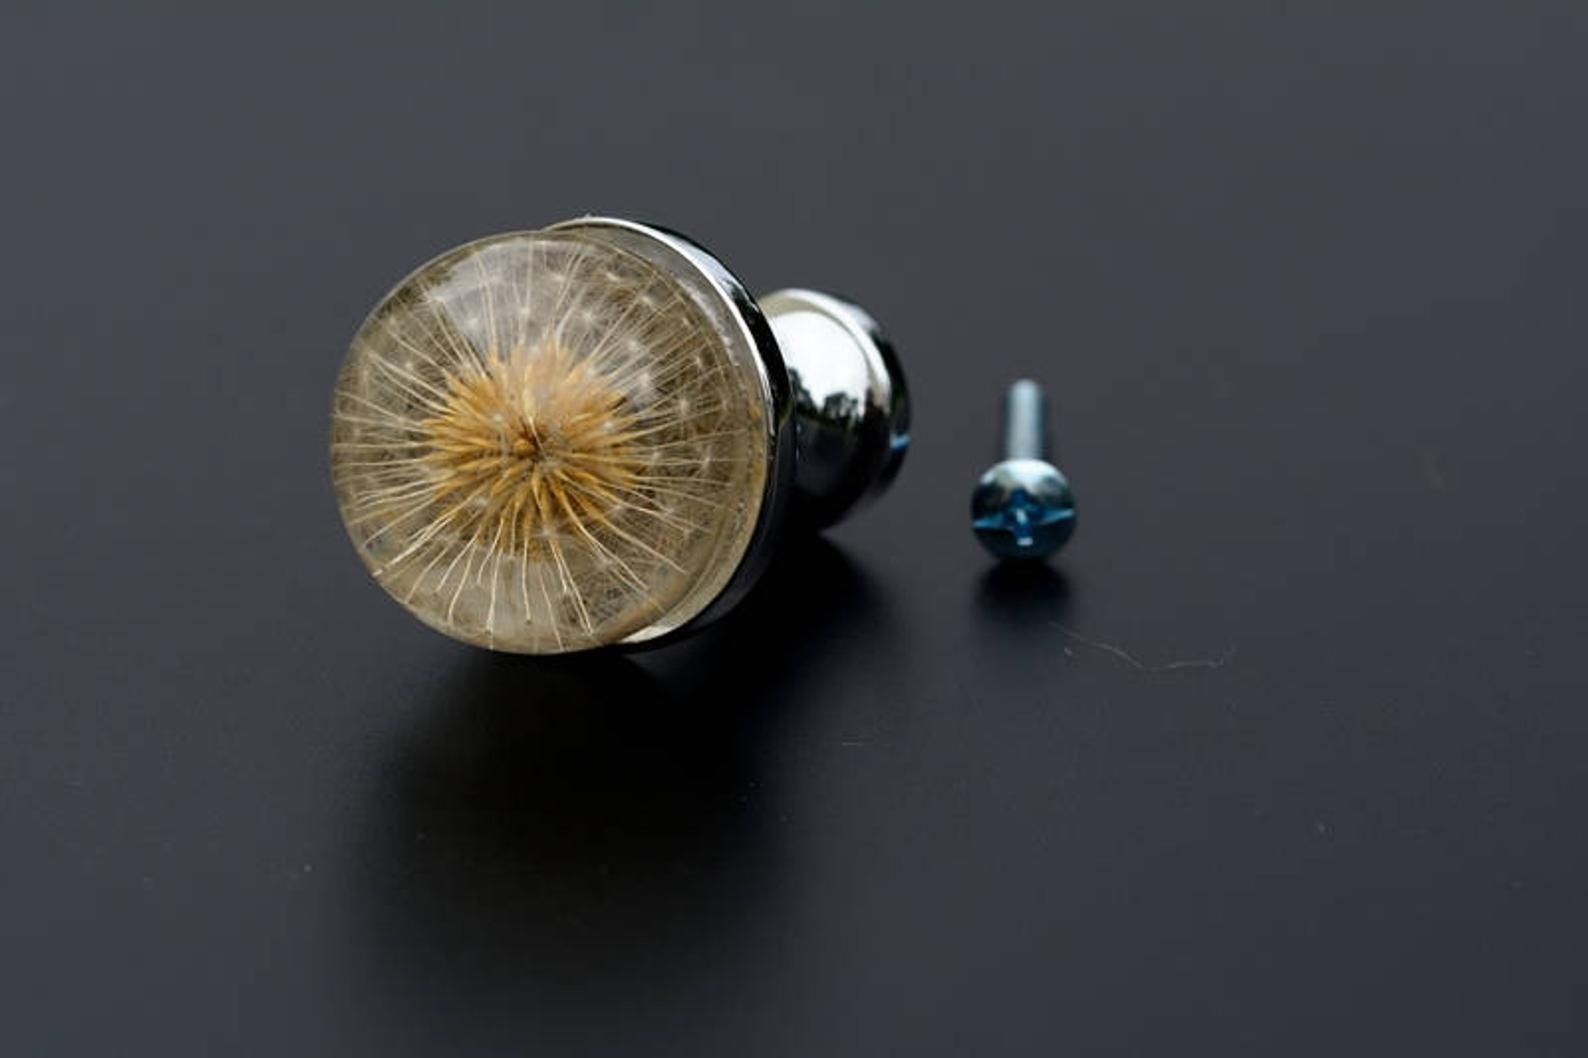
DIY Epoxy Door Knobs
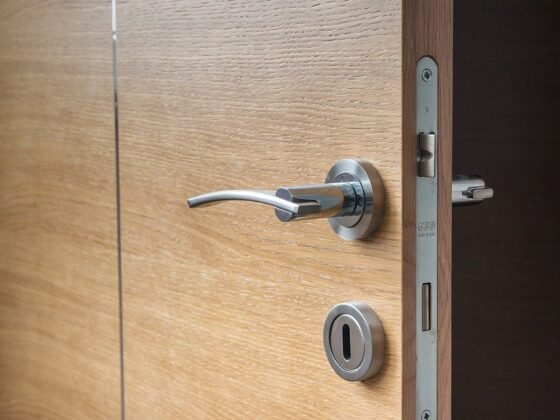
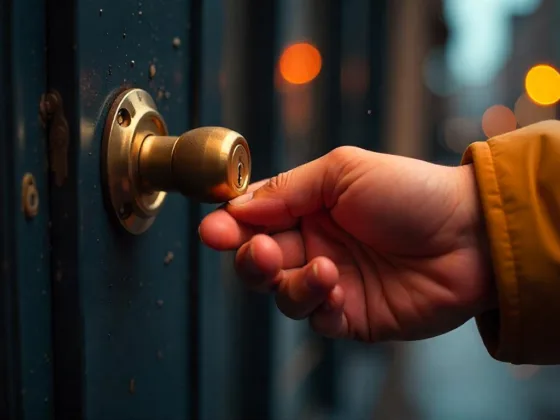
This small detail is the first thing that anyone entering your space will interact with. It’s the first item someone will touch and feel.
Think about how the door represents a threshold between indoor and outdoor. The doorknob is a pivotal detail.
This is one of our favorite projects because it can be as simple or as detailed as you like. It’s also easy to create.
- First, you’ll need to find an epoxy with high-quality ingredients made here in the U.S.A. since this piece needs to be durable and hold its color. We recommend Upstart Epoxy.
- Second, you’ll need to find a silicone mold that fits the size of the doorknob you’re looking for.
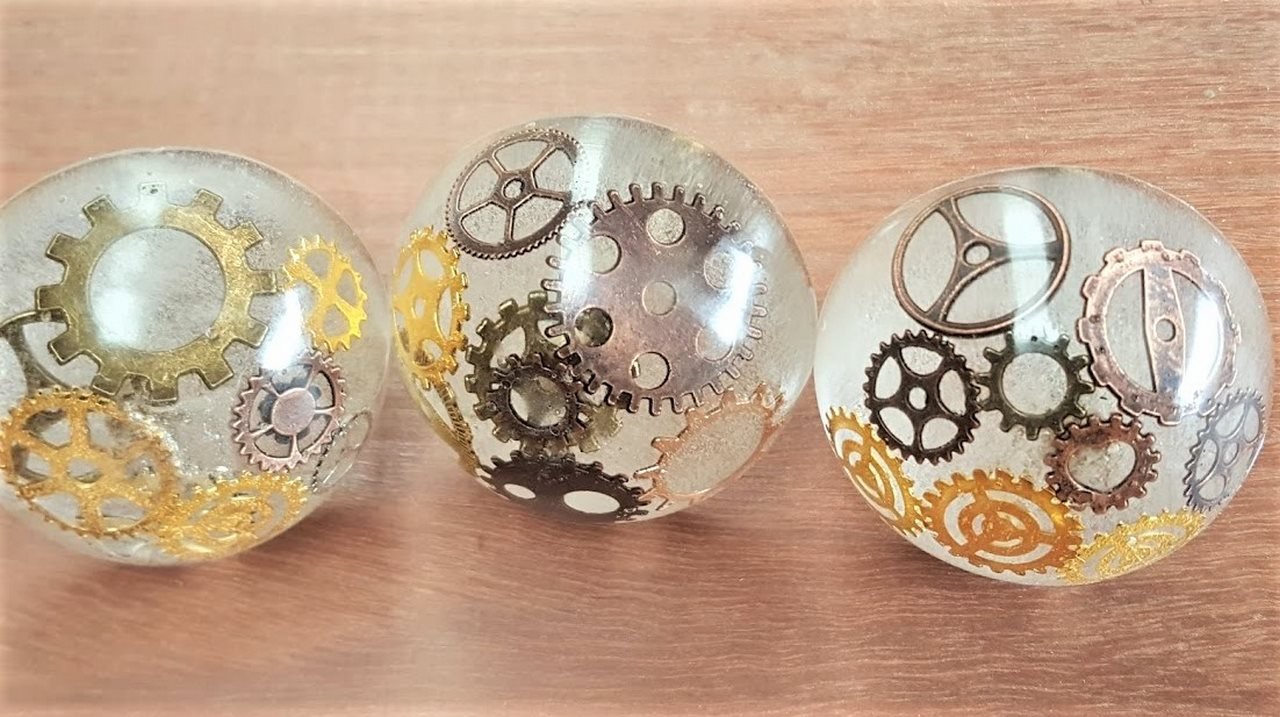
- Pick your design and colors! One of the beautiful things about working with epoxy is that you can make it whatever you’d like, from a deep-sea blue with sparkles to including little trinkets, it’s whatever you can think of.
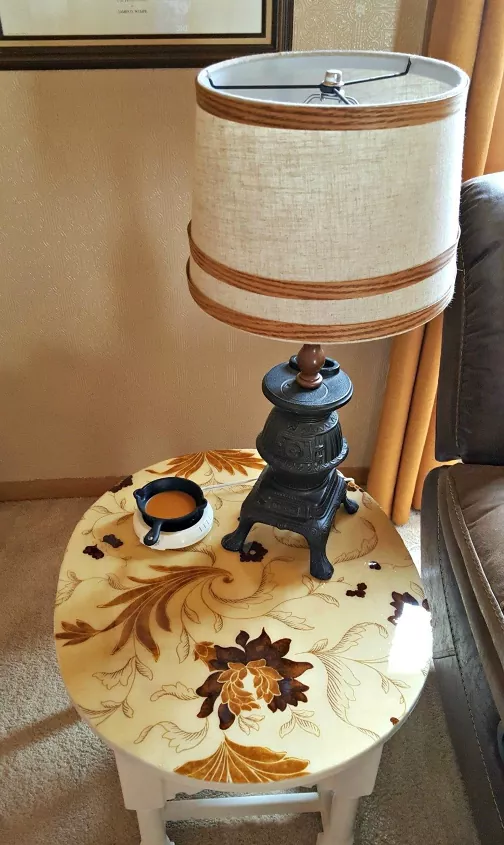
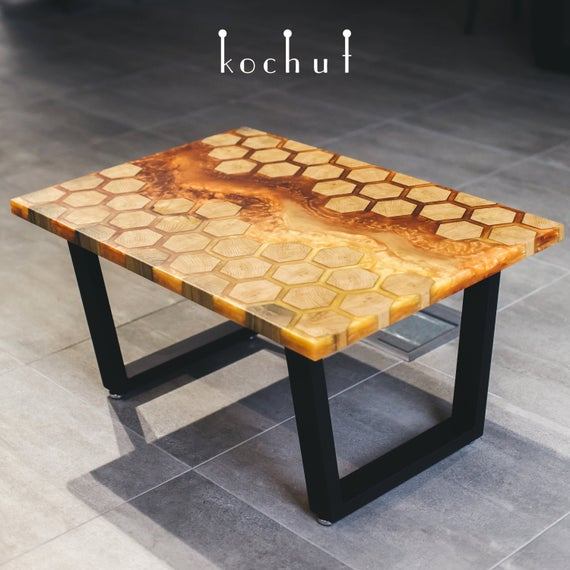
DIY Epoxy Side Table Makeover
Side tables tend to get overlooked. They’re not centerpieces like your kitchen table or even a coffee table. True to their name, they’re on the side.
But side tables are one of the most utilized pieces of furniture in your space. It’s where you put your coffee or rest the remote. They also help bring all of the furniture in your space together, without drawing attention.
Our favorite side table DIYs with epoxy can be as simple as adding a fresh shine, to using your favorite fabric to make a statement. Here’s how to get started:
- As mentioned before, you’ll need to pick a quality epoxy product.
- Second, you’ll need to prep your surface. Ensure that it’s sanded down and clean of all debris.
- Third, you will need to prep your surrounding area. Lay a tarp on the floor and seal the edges of your table. Epoxy will get everywhere if you don’t have it controlled!
- Add a little color or texture. You can add color into your epoxy mixture or even pour over a favorite fabric that you have.
- Create your epoxy mixture and pour it smoothly over the surface. Pour away!
Read Also:
- Some Awesome Features about Epoxy Flooring You Had No Idea About!
- What Is Epoxy Flooring? Is It Really Worth the Cost?
- Benefits of Epoxy Flooring Your NYC Home
- Epoxy Floor Coatings – All You Need to Know
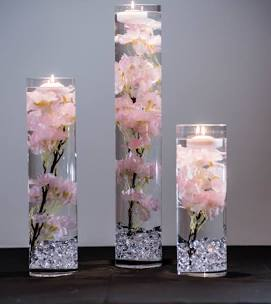
DIY Epoxy Flower Centerpiece
Maintaining fresh flowers can be tricky, especially in the colder seasons. And if you’ve got pets that are trying to munch on your bouquet, that’s even harder.
That’s why we’ve turned to fake flower vases and centerpieces. It doesn’t sound very elegant, but if done correctly you’ve got a statement piece that you can use for all seasons.
Here’s how to get that timeless look with epoxy:
- First, pick out your glass vase and your flower arrangement. You can use a bouquet of dried flowers or artificial flowers. Make sure the vase is large enough to properly show off your chosen blossoms.
- Get your hands on epoxy with high-quality ingredients.
- The goal is to create a clear, water look for the bottom of the vase so no extra color or ingredients will be needed. It’s time to combine your resin!
- Mix the resin per the instructions on the packaging. Once your mixture is complete, it’s time to pour it into the vase.
- When the level of epoxy is where you would want water, add your flowers. Add them with care so that the epoxy doesn’t splash and dry on the sides of the vase.
- Let it harden and now you’ve got a beautiful centerpiece!

